
Numpy is a Python library that allows you to do mathematical calculations very easily. It has many functions that allow you to perform these calculations. Many data science learner readers have asked that they are unable to install numpy in visual studio code. In this tutorial, you will know how to install numpy in visual studio code through the steps.
Steps to install numpy in Visual Studio Code
In this section, you will know all the steps that you will follow for better understanding.
Step 1: Open your visual studio code and go to the extension tab. You will find it on the left side of the window.

Step 2: Go to the search bar and type Python. There you will see the Python by Mircosoft.
Step 3: Click on the install button to install. It will be a blue in color.

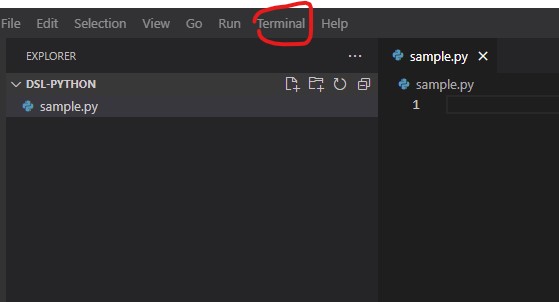
Step 4: After the installation of Python. Go to the terminal and click on the new terminal.
Step 5: Type the following command on it to install the numpy.
pip install numpy
In my system, the numpy is already installed that’s why I am getting the message requirement already satisfied. In your case, it will start downloading numpy and install it.
That’s all you have to do to install the numpy module in Visual Studio code.
How to check the version of the Numpy in visual Studio code
After installing the module you can check whether the Numpy is installed or not. It’s a must check as you can get the ModuleNotFoundError: no module named numpy even after installing it. Go to your sample.py and use the following lines of code to check the version of the numpy.
import numpy as np
print(np.__version__)
You can also check the version of Python using the terminal of the Visual Studio Code. Go to the terminal and type the following command to know the version of the python.
If python 3 has been installed then use the python3 command otherwise just python.
For Python 3. xx
python3 --versionFor Python 2.xx
python --versionRelated Tutorial
Conclusion
These are the steps to install the NumPy module on Microsoft VS Code. I hope you have liked this tutorial. If you are unable to install it and have another query then you can contact us for more help.

Join our list
Subscribe to our mailing list and get interesting stuff and updates to your email inbox.
